NCLEX Wound Care & Skin Integrity Review: Pressure Injuries, Healing & Dehiscence
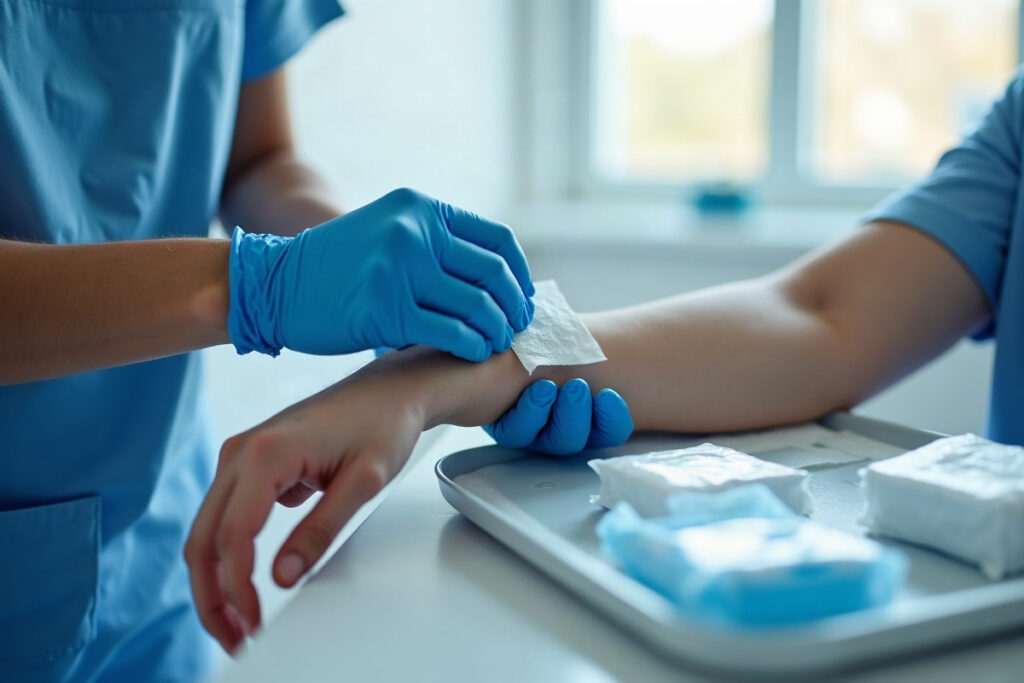
Wound care questions on the NCLEX are less about memorizing dressing brands and more about judgment: which patient is at highest risk for skin breakdown, what stage a wound is, what the nurse should do first when an incision opens, and which instruction an assistive staff member needs corrected. This review covers the high-yield topics: pressure injury risk and prevention, staging, how wounds heal, how to assess and document a wound, dressing basics, and the two surgical-wound emergencies you must recognize.
Who is at risk: the Braden Scale
The Braden Scale is the most common tool for predicting pressure injury risk. It scores six areas:
- Sensory perception — can the patient feel and report discomfort?
- Moisture — sweat, urine, stool, wound drainage
- Activity — bedfast, chairfast, walks occasionally, walks frequently
- Mobility — ability to change position independently
- Nutrition — usual intake
- Friction and shear — sliding down in bed, being dragged during repositioning
The key exam fact: a lower score means higher risk. Scores range from 6 to 23, and many facilities treat 18 or below as at risk, though the exact cutoffs follow your facility’s policy. If a question lists several patients, the one who is immobile, incontinent, poorly nourished, and can’t feel or report pain is your highest-risk patient.
Remember that risk is not only about the bed. Patients in wheelchairs, on long surgeries, with casts or splints, or with medical devices like oxygen tubing, catheters, and endotracheal tubes can all develop pressure injuries where the device presses on skin.
Prevention: what the nurse actually does
Prevention questions often hide a wrong action in a list of right ones. Know these:
- Reposition regularly. At least every 2 hours in bed is the classic textbook answer, adjusted to the patient and the support surface. Chair-bound patients need more frequent weight shifts.
- Use a 30-degree side-lying position instead of lying directly on the hip.
- Keep the head of the bed at 30 degrees or lower when the patient’s condition allows, to reduce shear on the sacrum.
- Float the heels off the bed with a pillow under the calves or a heel protection device.
- Lift, don’t drag. Use a lift sheet or transfer device to reduce friction and shear.
- Manage moisture. Clean promptly after incontinence, use a barrier cream, and avoid stacking extra pads under the patient.
- Support nutrition and hydration. Protein and calories matter for intact skin and for healing.
Classic wrong answers: massaging a reddened bony area (it can damage fragile tissue), using donut-shaped cushions (they concentrate pressure around the ring), and using hot water or harsh soap on fragile skin.
Pressure injury stages
Staging describes the deepest tissue damage you can see. The commonly used categories:
- Stage 1 — intact skin with redness that does not blanch when pressed. In darker skin tones, redness may be hard to see, so look for changes in color, warmth, firmness, or pain compared with surrounding skin.
- Stage 2 — partial-thickness skin loss. A shallow, pink or red open area, or an intact or ruptured serum-filled blister. No slough or eschar.
- Stage 3 — full-thickness skin loss. Fat may be visible; slough or eschar may be present. Bone, tendon, and muscle are not exposed.
- Stage 4 — full-thickness skin and tissue loss with exposed or directly palpable bone, tendon, muscle, or cartilage. Tunneling and undermining are common.
- Unstageable — the base is covered by slough or eschar, so you can’t see how deep it goes.
- Deep tissue pressure injury — intact or non-intact skin with a persistent deep red, maroon, or purple area, or a blood-filled blister.
Two rules trip people up. First, don’t reverse-stage: a healing Stage 3 is documented as a healing Stage 3, not a Stage 2. Second, not every skin break is a pressure injury. Moisture-associated damage from incontinence tends to be diffuse and shallow in the perineal area, while pressure injuries sit over bony prominences.
How wounds heal
Know the phases of healing in order:
- Hemostasis — bleeding stops and a clot forms.
- Inflammatory — redness, warmth, and swelling for the first few days. This is expected, not automatically infection.
- Proliferative — new granulation tissue (beefy red, moist, bumpy) fills the wound and edges contract.
- Maturation (remodeling) — the scar strengthens over months but never regains full original strength.
And the types of healing:
- Primary intention — edges are brought together (sutures, staples). Faster healing, less scarring.
- Secondary intention — the wound is left open and fills in from the bottom. Used for pressure injuries and contaminated wounds. Slower, more scarring, higher infection risk.
- Tertiary intention (delayed primary closure) — left open for a period, often for infection or swelling, then closed.
Factors that slow healing are fair game: older age, diabetes and high blood glucose, poor nutrition, smoking, poor circulation, obesity, infection, and medications such as corticosteroids. Protein, vitamin C, and zinc are the nutrients most often tied to healing in exam questions. For a refresher on interpreting related labs like glucose and WBC, see our NCLEX lab values guide.
Wound assessment and drainage
A good wound assessment is specific and repeatable:
- Location and size — length by width by depth, in centimeters, measured the same way each time
- Tunneling and undermining — often described using clock positions, with 12 o’clock toward the patient’s head
- Wound bed — granulation (red), slough (yellow or tan, stringy), eschar (black or brown, leathery)
- Edges and surrounding skin — redness, warmth, maceration
- Drainage amount, color, and odor
- Pain
Drainage types to know:
- Serous — clear, thin, watery
- Sanguineous — bright red, fresh bleeding
- Serosanguineous — pale pink, thin; common in the first days after surgery
- Purulent — thick, yellow, green, or tan, often with odor; suggests infection
A sudden increase in drainage, new purulent drainage, spreading redness, increasing pain after the first few days, or fever should be reported. A sudden gush of serosanguineous drainage from an abdominal incision can be an early warning of dehiscence.
Dressing changes and drains
Most modern wound care follows the principle of moist wound healing: keep the wound bed moist but the surrounding skin dry. Exam-relevant technique points:
- Perform hand hygiene and follow the ordered technique (clean or sterile).
- Medicate for pain beforehand if needed, timed so it is working during the change.
- Clean from least contaminated to most contaminated: for an incision, from the incision outward; for an open round wound, from the center outward. Use a new swab for each stroke.
- Do not let a moist dressing overlap onto healthy skin, which can cause maceration.
- Document the wound’s appearance, drainage, the dressing used, and how the patient tolerated it.
For closed drains like a Jackson-Pratt or Hemovac, empty and measure the output, then compress the bulb or reservoir before closing it to restore suction. Report a sudden large increase in output or a change to bright red drainage. Our infection control and PPE guide covers hand hygiene and aseptic technique in more depth.
Dehiscence and evisceration: the emergency question
Dehiscence is separation of the wound edges. Evisceration is when abdominal contents protrude through the opening. Both are most often seen with abdominal surgery, and risk is higher with obesity, poor nutrition, diabetes, infection, and strain from coughing or vomiting. Patients may report feeling that something “gave way” or “popped.”
If evisceration happens, the standard nursing actions are:
- Stay with the patient and call for help; have someone notify the surgeon.
- Cover the wound with sterile dressings moistened with sterile normal saline to keep tissue from drying out.
- Position in low Fowler’s with knees slightly bent to reduce abdominal tension.
- Monitor vital signs for shock and keep the patient NPO in anticipation of surgery.
The classic wrong answer: never try to push the organs back in. Teach post-op patients to splint the incision with a pillow when coughing to help prevent this.
When you rank patients, a new evisceration or signs of sepsis comes first, a new Stage 1 area next, and a routine scheduled dressing change after that. Our prioritization and delegation guide also covers what you can delegate: an assistive staff member can reposition patients and report skin changes, but wound assessment and staging stay with the nurse.
Practice NCLEX-RN questions free
Try 60 free sample questions with full rationales — no signup.
Start the free NCLEX-RN practice test →